Spot Leak
- Water Path
- Traced to one detail
- Insulation
- Wet only near the opening
- Test Result
- Drip repeats at one spot
- Repair
- Fix the curb, seam, or boot
- After
- Recheck after the next rain

As a Nicholasville commercial roof leak repair contractor, we map drips inside, test the roof above, and repair the curb, seam, or skylight letting water in.
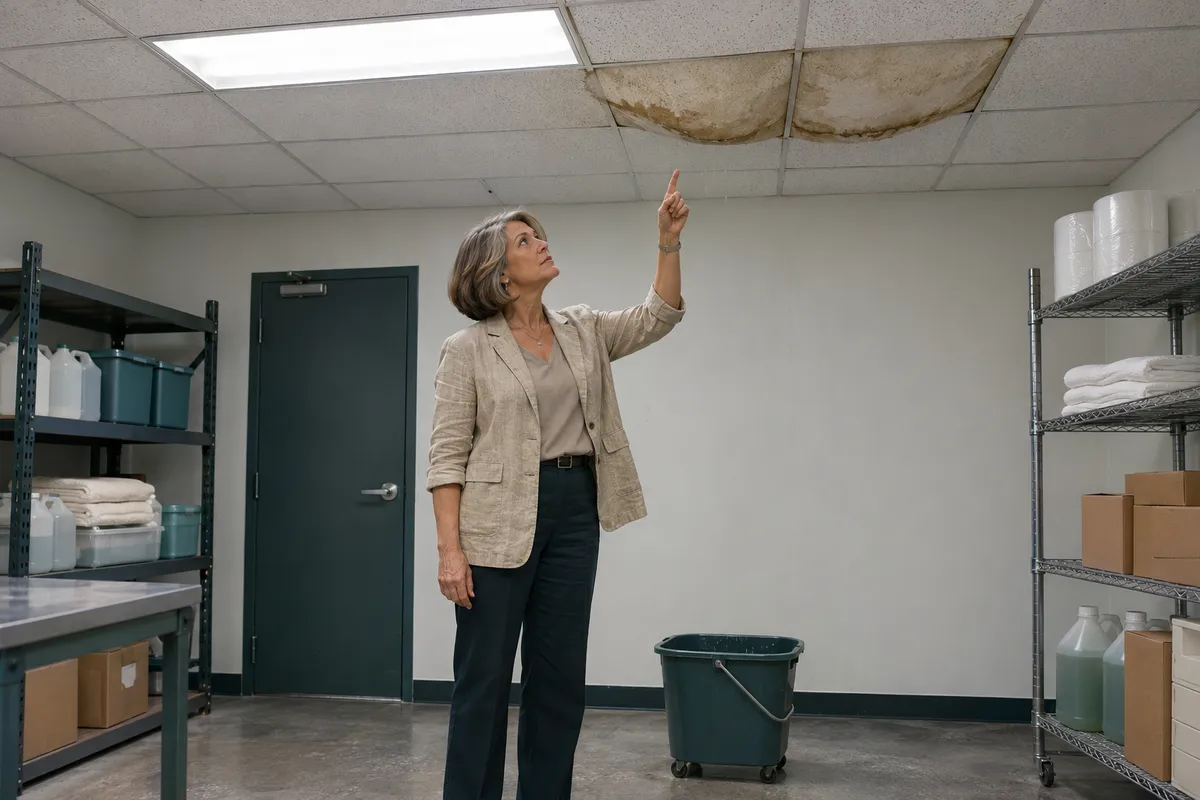
One Leak Or Many
Before a Nicholasville commercial roof leak repair contractor fixes anything, the question is whether water stopped at one detail or spread through the insulation.
Leak Patterns
Leaks show up inside long before anyone climbs the ladder. These patterns sit behind most of the calls.
Water following a pipe or conduit run from the deck down to the fixture.
Shut off power to that fixture, then follow the conduit back to the curb or penetration above.
Curb flashing pulled loose at a corner, or an access panel left open after service.
Close the unit panels, reflash the curb corners, and check where the condensate line drains.
Pipe supports that cut into the membrane as they shift.
Patch the cut and set the pipe on supports with pads that protect the membrane.
Loose curb flashing, a worn frame gasket, or a cracked dome.
Reseal or reflash the curb, replace gaskets and fasteners, and swap cracked domes or panels.
Openings on one side of a curb, wall, or vent that take water from one direction.
Use your notes on wind direction to aim the water test at that side of each detail.
Finding And Fixing
Finding the leak is half the job. These are the methods used to find it and then close it.
Every drip point gets marked on a floor plan with the time, rain amount, and wind, so the roof check starts at the right bays.
One detail at a time gets sprayed, starting low on the roof and moving up, so each curb, seam, or wall is tested alone.
Scans find wet insulation hiding under a membrane that looks fine, and a core cut confirms wet or dry at a given spot.
Wet-surface mastic, tape, tarps, and cleared drains hold water out during rain or frost until a dry day allows the permanent repair.
Why Find The Source
Fixing the opening that let water in, instead of the stain where it landed, keeps the next storm from repeating the damage.
Patching above the stain misses water that traveled along the flutes. Tracing it to the curb or seam fixes the source once.
A moisture survey shows how far water spread, so wet insulation comes out before it rots the deck or loads the roof.
Pinpointing the source means fewer buckets, fewer closed aisles, and less ceiling tile to replace in occupied space.
Your log of dates, weather, and drip points, matched to each repair, makes the next leak quicker to place.
Directional leaks are the hardest to place. Write down the wind direction next time and call, because that note narrows the water test.
Leak Process
A leak gets solved by working from the evidence inside to the opening outside, in this order.
With the drip points marked, the inspector checks seams, flashing, and curbs above them, then plans a water test for anything hidden.
Inventory and equipment move from under the drip, buckets and tarps go down, and lights or equipment near the water get shut off.
Water testing runs one detail at a time from low to high until the drip repeats, and that detail gets repaired with matching materials.
After the next rain, the old drip points should stay dry. A new stain means a second source, and it goes back on the test list.
Related Repairs
Once the source is found, the repair itself usually falls under one of these.
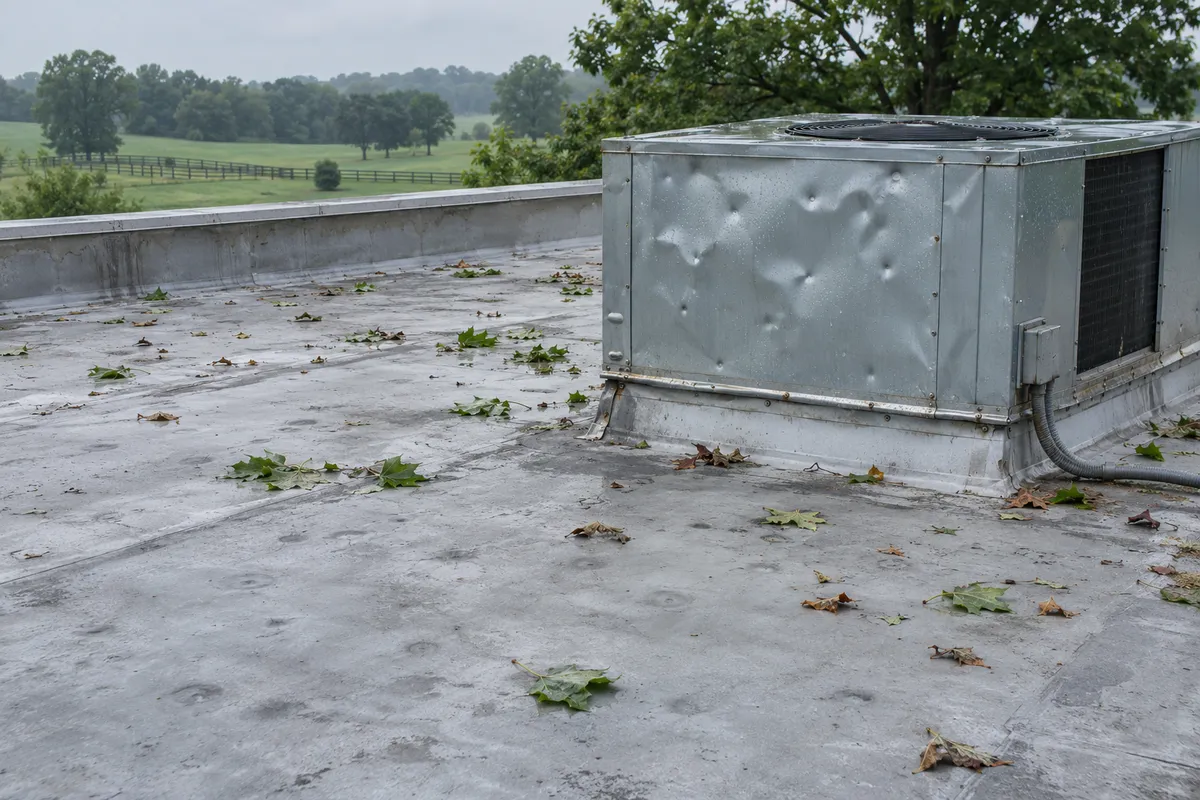
Most flat roof leaks come back to a seam, a puncture, or the parapet, and flat roof repair closes those with the right method for the sheet.
Flat roof repair →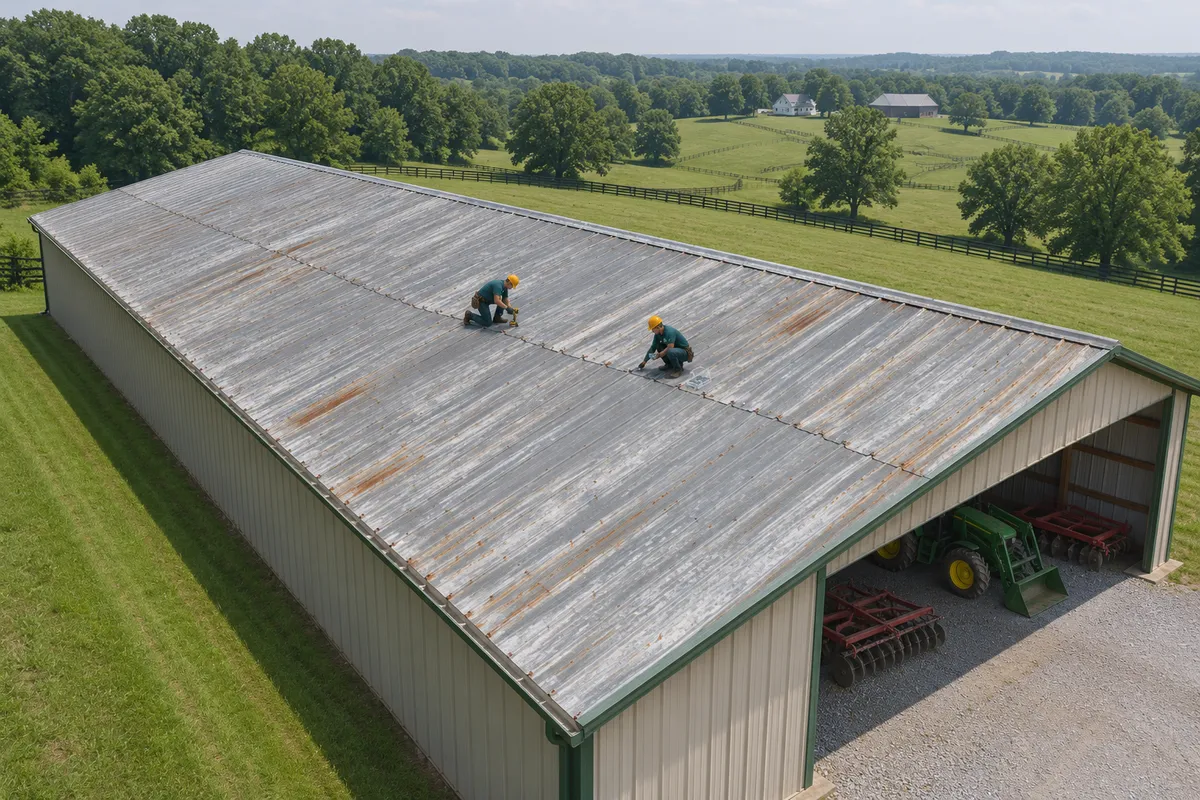
When the drip follows a purlin line, the source is usually a backed-out screw or an open end lap on the metal roof above.
Metal roof repair →Leak Questions
Interior drip points get mapped first, then the roof above is checked for openings at seams, flashing, and curbs. When the source stays hidden, water testing or a moisture survey comes next.
Water tests run from low to high on the roof so each detail is tested alone, and a core cut confirms whether the insulation at a spot is wet or dry.
Each penetration breaks the membrane and relies on flashing and sealant that age faster than the field. Curb corners pull loose, pitch pan filler shrinks and cracks, and service panels get left open.
Condensate lines dripping on the roof and gas pipe supports cutting into the membrane add more leak points. Pitch pans need topping off as filler shrinks, and many get swapped for prefabricated boots or curbs.
Protect people and contents first: move inventory and equipment from under the drip, set out buckets and tarps, mark wet floors, and shut off lights or equipment near the water.
Photograph the ceiling and floor and note the time, rain amount, and wind direction. Keep drains clear on the roof only if it is safe to reach, and wait out lightning and high wind.
Temporary repairs are. Wet-surface mastics, tapes, tarps, and drain clearing hold water out during rain, frost, or ice, and some mechanical and tape repairs work on a cold, dry day.
Welding, priming, and full permanent repairs need a dry surface and the temperatures each product is rated for. Schedule them for the first dry stretch, since temporary materials age fast.
Most skylight leaks start at the curb flashing, the frame gasket, or a crack in the dome. Repairs reattach and seal the curb flashing at the corners, replace gaskets and fasteners, and swap cracked domes or translucent metal-roof panels.
Condensation gutters inside the frame get cleared too, and screens or guards can be added to protect anyone walking nearby.
Send us where the drips land and when they show up. We will map them, test the roof above, and repair the detail at fault.
Leave a name and number and we will call you about the leak or repair.
Or call +1 (270) 260-2465